Surfas Breadmaking Class: Bread #5: Brioche

IMG_0476

I think it was my mother who once told me that if I want to quit eating sweets, I should make them myself. She said that if I see, first hand, how much sugar and fat are in it, I will surely quite eating it. Her point was valid because I no longer consume buttercream frosting after learning how much artery-clogging butter went into making the frosting during my cupcake-making days.

Because of that reason, I was very hesitant to bake Brioche at the bread workshop at Surfas Culinary District in Culver City. I just wanted to forever stay in a sugar-coated world where I was completely oblivious to the amount of butter and eggs that were packed in those cute, seemingly innocent French pastry.

But I suppose I can’t stay sheltered forever. It was time for me to face the music.  Here I go!

IMG_0371

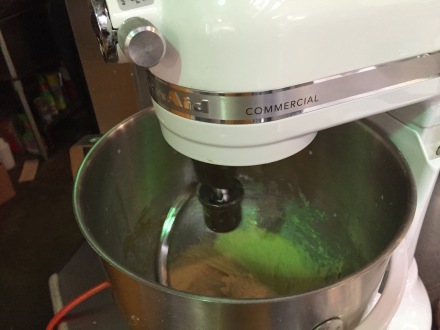
A stand mixer definitely comes in handy in making the dough. I can’t imagine trying to do this by hand.

First you need to dissolve the yeast by whisking it with milk. Then add the flour and mix in a stand mixer with a dough hook. Add eggs and mix for 4-5 minutes.

Increase the speed to medium, and slowly add the butter (BUTTER!), tablespoon or two at a time. Continue to mix for 15 minutes to develop the gluten for a light, airy structure in bread.

IMG_0389

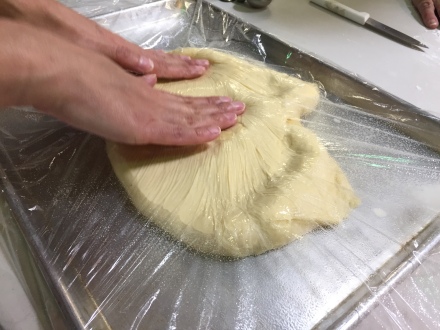
Now add sugar and salt and mix for 5-8 minutes. Conduct the “window pane” test (spread a tiny dough piece with your fingers into a thin translucent layer). If you can see through the layer without it ripping, you are ready to transfer the dough onto a buttered sheet pan and cover it with a plastic wrap.

Let it sit for at least 6 hours, or overnight.

IMG_0431

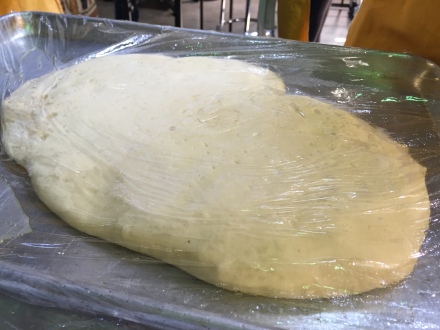
After the dough has rested for at least 6 hour, or overnight, turn the cold dough onto a greased pan. Divide the dough in half.  Then press one portion of dough into an even rectangle about 2 inches thick.

IMG_0437

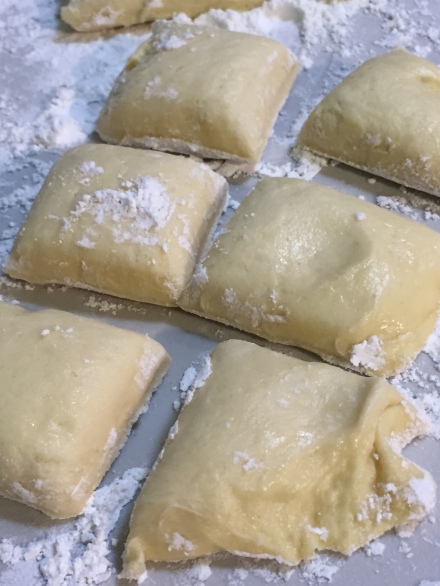
Take the rectangle in half lengthwise and cut it crosswise into 6 equal portions. The recipe makes a total of 12 equal pieces.

IMG_0439

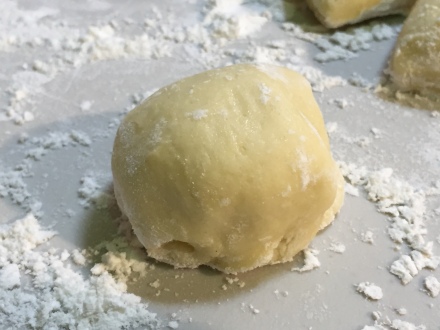
Roll the dough into balls.

IMG_0440

You have many option to shape the Brioche (i.e. in a loaf pan) but we made many small ones with little 2-3 balls per baking cup.

Place the Brioches in a pan.  Cover the pan loosely with plastic wrap and set them aside for about 45 minutes until the dough has risen to the level of the pan rim.

IMG_0445

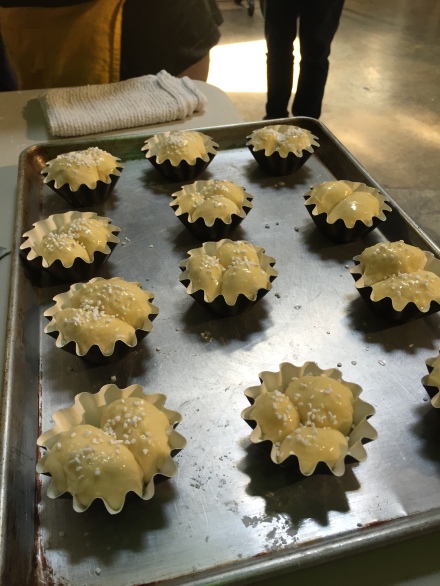
Unwrap the dough, brush them with melted butter and sprinkle with sugar.  Bake at 350 degree F for 30 minutes, rotating the after 20 minutes.  Reduce the oven temperature to 325 degree F and continue to bake or 25-30 minutes, or until they are golden brown on top.

IMG_0473

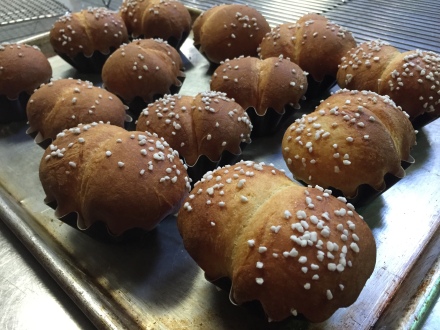
Transfer to cooling rack and let them cool completely.

IMG_0474

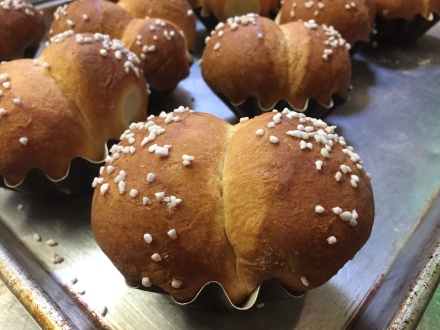
Look at these cute little Brioche!  They look like baby’s little bums!

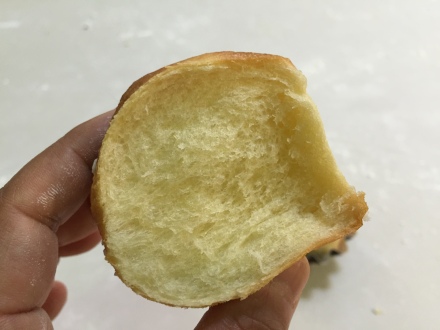
So making Brioche wasn’t as scary as I thought.  Yes, there are quite a bit of butter (almost two sticks, to make two 8-1/2 inch loaves) and eggs (three altogether) but it’s not that bad as long as you just eat only one or two of the little ones.  It’s difficult to stay disciplined though because these little morsels are lovely, so lovely that you really can’t decide if they are bread or actually pastry.

IMG_0486

I ate one in class while it was still warm, and another one with a cup of coffee when I got home that afternoon.

Everything about Brioche was a music to my ears … and my tummy.

Surfas Breadmaking Class: Bread #2: Pain de Epi

IMG_0408

I love baguettes. For me, they are the epitome of bread, and Pain de Epi is just another variation, and perhaps the most visually appealing, of the famous French loaf family.

Its shape resembles an ear of grain, thus the name “wheat stalk bread,” and you can just place it in the middle of the dining table for everyone to tear a piece while they gather for supper.  No serving plates necessary. It’s so romantically rustic. Needless to say, I was most excited to bake this crusty bread during the two-day bread-making workshop at Surfas Culinary District in Culver City.

IMG_0342

Making a Pain de Epi can be a two-day process because you need poolish that needs to be set aside overnight. Poolish is the French version of its Italian cousin, biga (or also goes by other names like starter and sponge), a fermented starter made out of flour, water, and yeast. Lucky for us, Chef John had already prepared poolish for us so we were able to go through the entire baking process in less than three hours.

To begin, mix bread flour, warm water, yeast, salt, and poolish in a stand mixer fitted with a dough hook for 3-4 minutes in low speed, and speed it up to medium speed for another 2-3 minutes.  Let the dough rest in a greased bowl, wrapped in plastic, for 45 minutes.

Two things I learned during this process is that: 1. Don’t mix salt with the yeast, as it can kill the bacteria, and 2. It takes about six minutes for the mixture to develop gluten.

IMG_0343

Remove the dough from the bowl and turn the dough onto a floured surface. Now, gently stretch the dough and fold it in third, then in third again, like you’re folding a letter. Repeat, this time starting with the bottom edge closest to you.

IMG_0345

Return the dough to the greased bowl, with seam side facing down and let it sit for another 45 minutes covered in plastic wrap.

IMG_0365

Place the dough in a floured surface and divide it into four equal portions (sorry, you only see three here). It’s best to use the scale to create an even portion. Gently pat down each dough to remove any large gas bubbles.

IMG_0368

Shape the dough, according to Chef John’s instruction,” by rolling short edge of dough toward center, then wind dough from the back edge forward to from a short log.”

IMG_0370

Place the dough log on a linen dish towel, with seam side down. Lightly cover the log with plastic wrap or the towel and let them rest for 20 minutes.

IMG_0395

Return the dough to the work surface, seam side up. Gently but firmly press the dough to release large gas bubbles. Shape the dough “by turning up the bottom edge of the dough, then winding the dough from top down to meet the bottom. With heel of a hand, work from left to right to seal the same into the dough. Then using palms, applying even pressure, working from the middle of the baguette outward, roll the dough until it extends to approximately 14 inches in lengths. Pinch the ends of the loaves to taper them.”

I wish I can paraphrase it to make a simpler explanation but I’m not even going to attempt.

IMG_0396

Now, place the baguettes onto a baking pan. To create the Epi design, make a 3/4 cut through the baguette at a 30 degree angle and turn each piece of dough to alternating sides.

IMG_0405

Place pan filled with water on the bottom of the oven and bake for 20-25 minutes, or until the baguettes become golden brown. Let them cool to room temperature before serving.

IMG_0406

Aaah, look at these beauties! The freshly baked Pain de Epi was absolutely incredible.

Up next: Cream Biscuits!